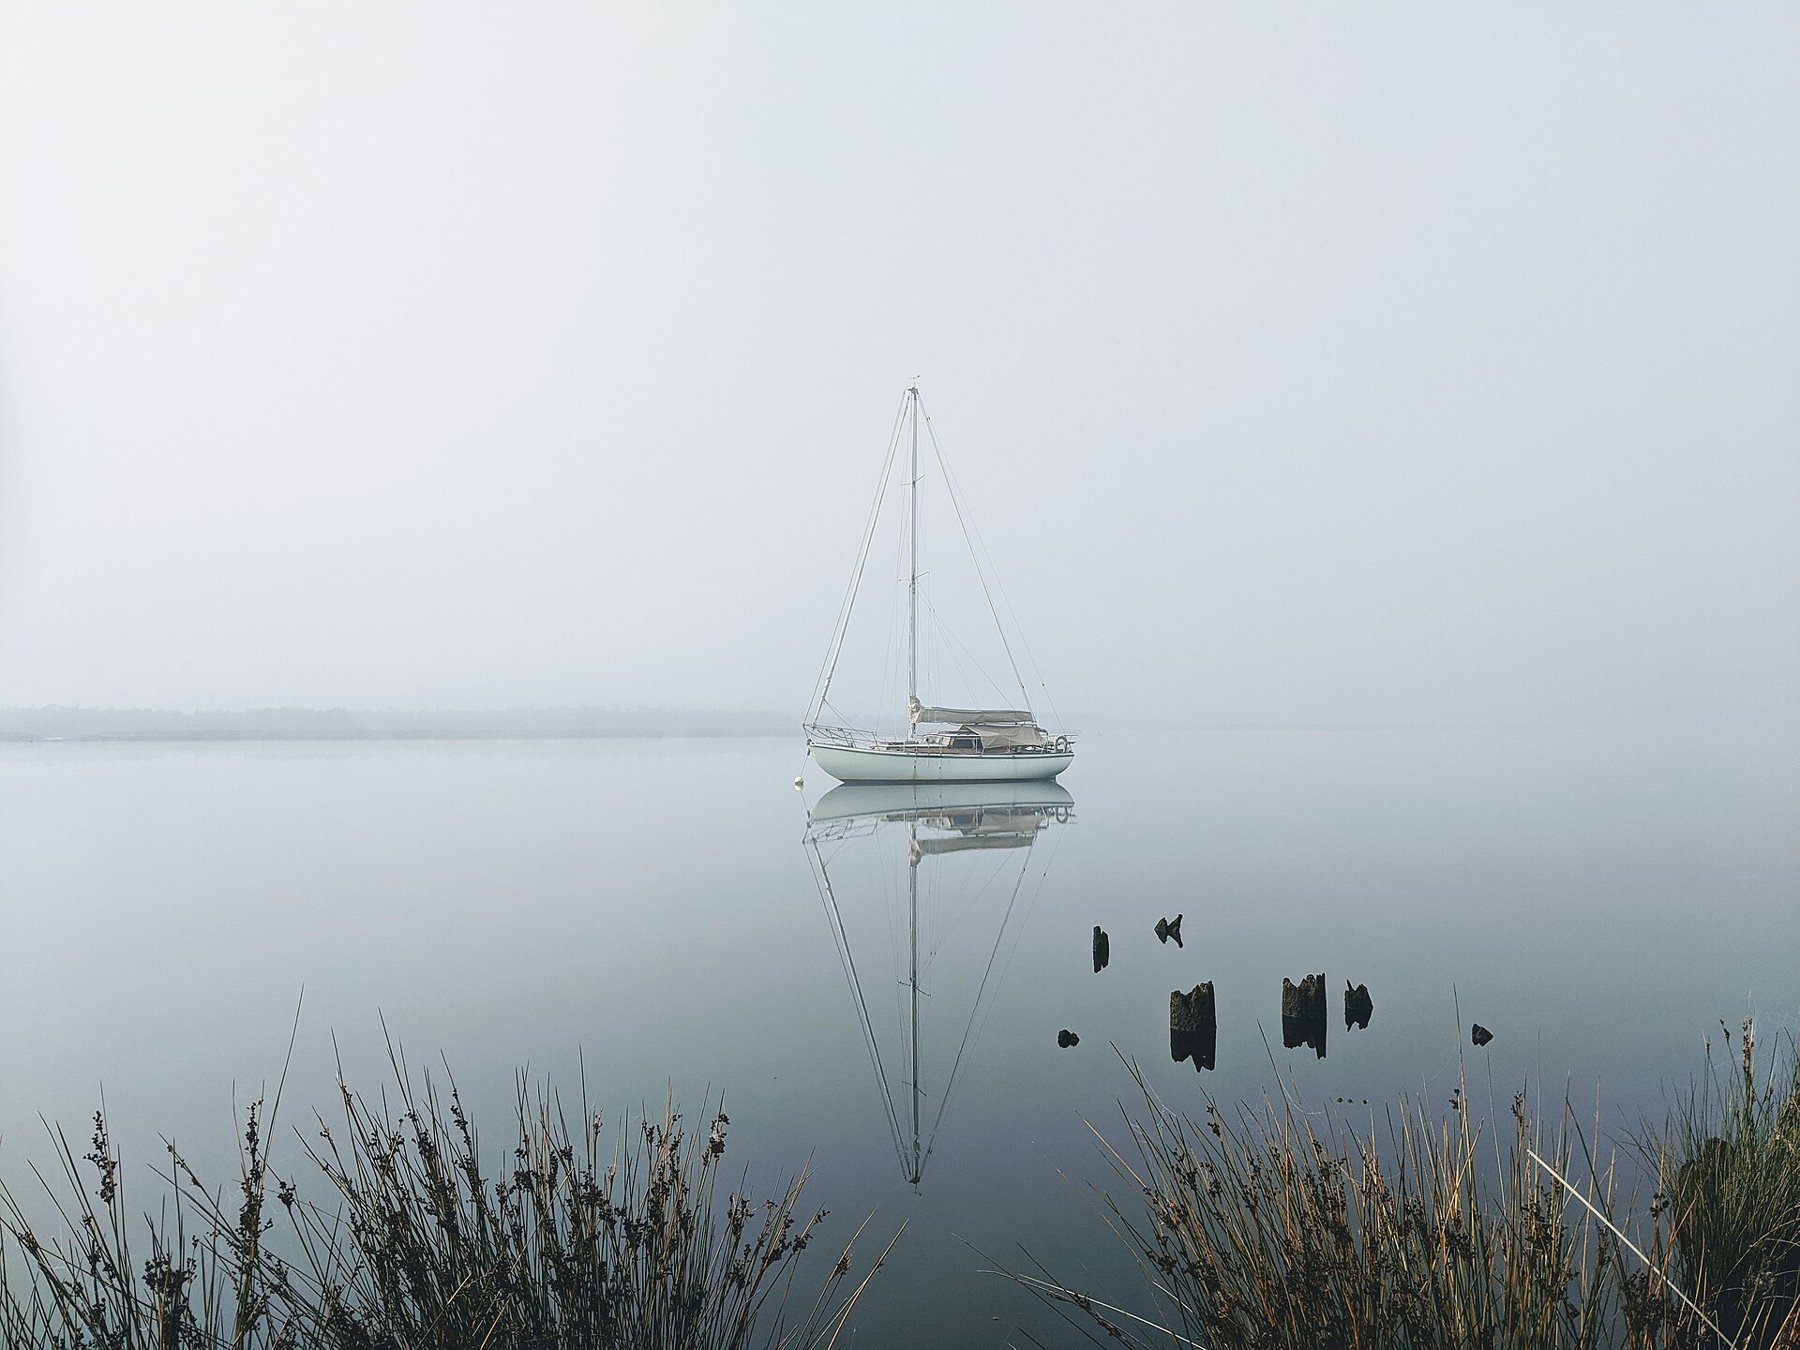
Fog removes distracting detail, but the main subject can lose its outline too. Look for a clear nearby shape and softer layers behind it. A tree, post or piece of shoreline can provide a dark reference. The photograph does not need the strong black-to-white contrast of a sunny day; its effect comes from small brightness differences.
Make distance visible
Compare viewpoints before releasing. A nearby trunk may appear almost black, a second row grey and a third only faintly visible. That progression describes depth. If objects are all at similar distances, the result may be a flat grey surface. A sideways step can separate overlaps and make the layers readable.
Tighter framing can isolate individual shapes from a confusing forest. Too much empty sky or a broad pale foreground may instead make the subject small and indefinite. Leave enough space for atmosphere, but give the eye somewhere to begin.
Check brightness and focus
Automatic exposure may render a very bright fog scene darker than intended. Test gentle positive compensation and check that nearby pale surfaces retain texture. A histogram without deep black is not automatically wrong here. Do not force a full tonal range if that makes the scene harsher than you want.
Autofocus needs recognizable structure. Choose a clear edge on the main subject rather than an entirely uniform fog area. If the camera keeps hunting, manual focus with magnification may help. Also inspect the front element for moisture: condensation creates an additional veil that is not the same as fog’s spatial effect.
Develop with restraint
A dehaze control can reveal shapes while strongly changing colour and contrast. Use only as much as the idea requires. Check dark branches for hard halos and distant areas for unnatural patches. Compare regularly with a neutral version. If the farthest layer becomes as strong as the nearest, you may lose exactly the depth that made the fog interesting.