In a small room, angle of view, facial proportions and depth of field compete. A very wide view fits more people into the frame but may stretch faces near the edges. A wide aperture gathers more light yet may leave the back row soft. The most effective improvement therefore usually begins with arrangement rather than one camera setting.
Balance width against depth
Avoid unnecessary depth with small groups. Two closely staggered rows may work better than several people standing far apart. Heads should appear between other heads rather than directly behind them. Ask everyone to look toward the camera and check for yourself that every face is fully visible; a general instruction alone does not reveal hidden eyes.
If you can move back, use that space before choosing an extremely wide view. Keep important faces away from the outermost edges. Sometimes a waist-up composition makes more sense than a full-length picture with strongly stretched people at the sides. Let the purpose determine which parts actually need to appear.
Check the back row explicitly
Choose an aperture that covers the actual depth and enlarge a test photograph at both front and rear eyes. A face-detection box on the front person does not guarantee a sharp back row. Focus at a suitable distance within the group and reduce the depth of the arrangement if the necessary aperture admits too little light.
A tripod helps composition and comparison but does not keep people still. An overly long exposure can blur individual heads while furniture remains perfectly sharp. Before extending the exposure, consider more available light, a different arrangement near a window or higher ISO. None of these replaces checking an actual group photograph.
Six people between a sofa and a window
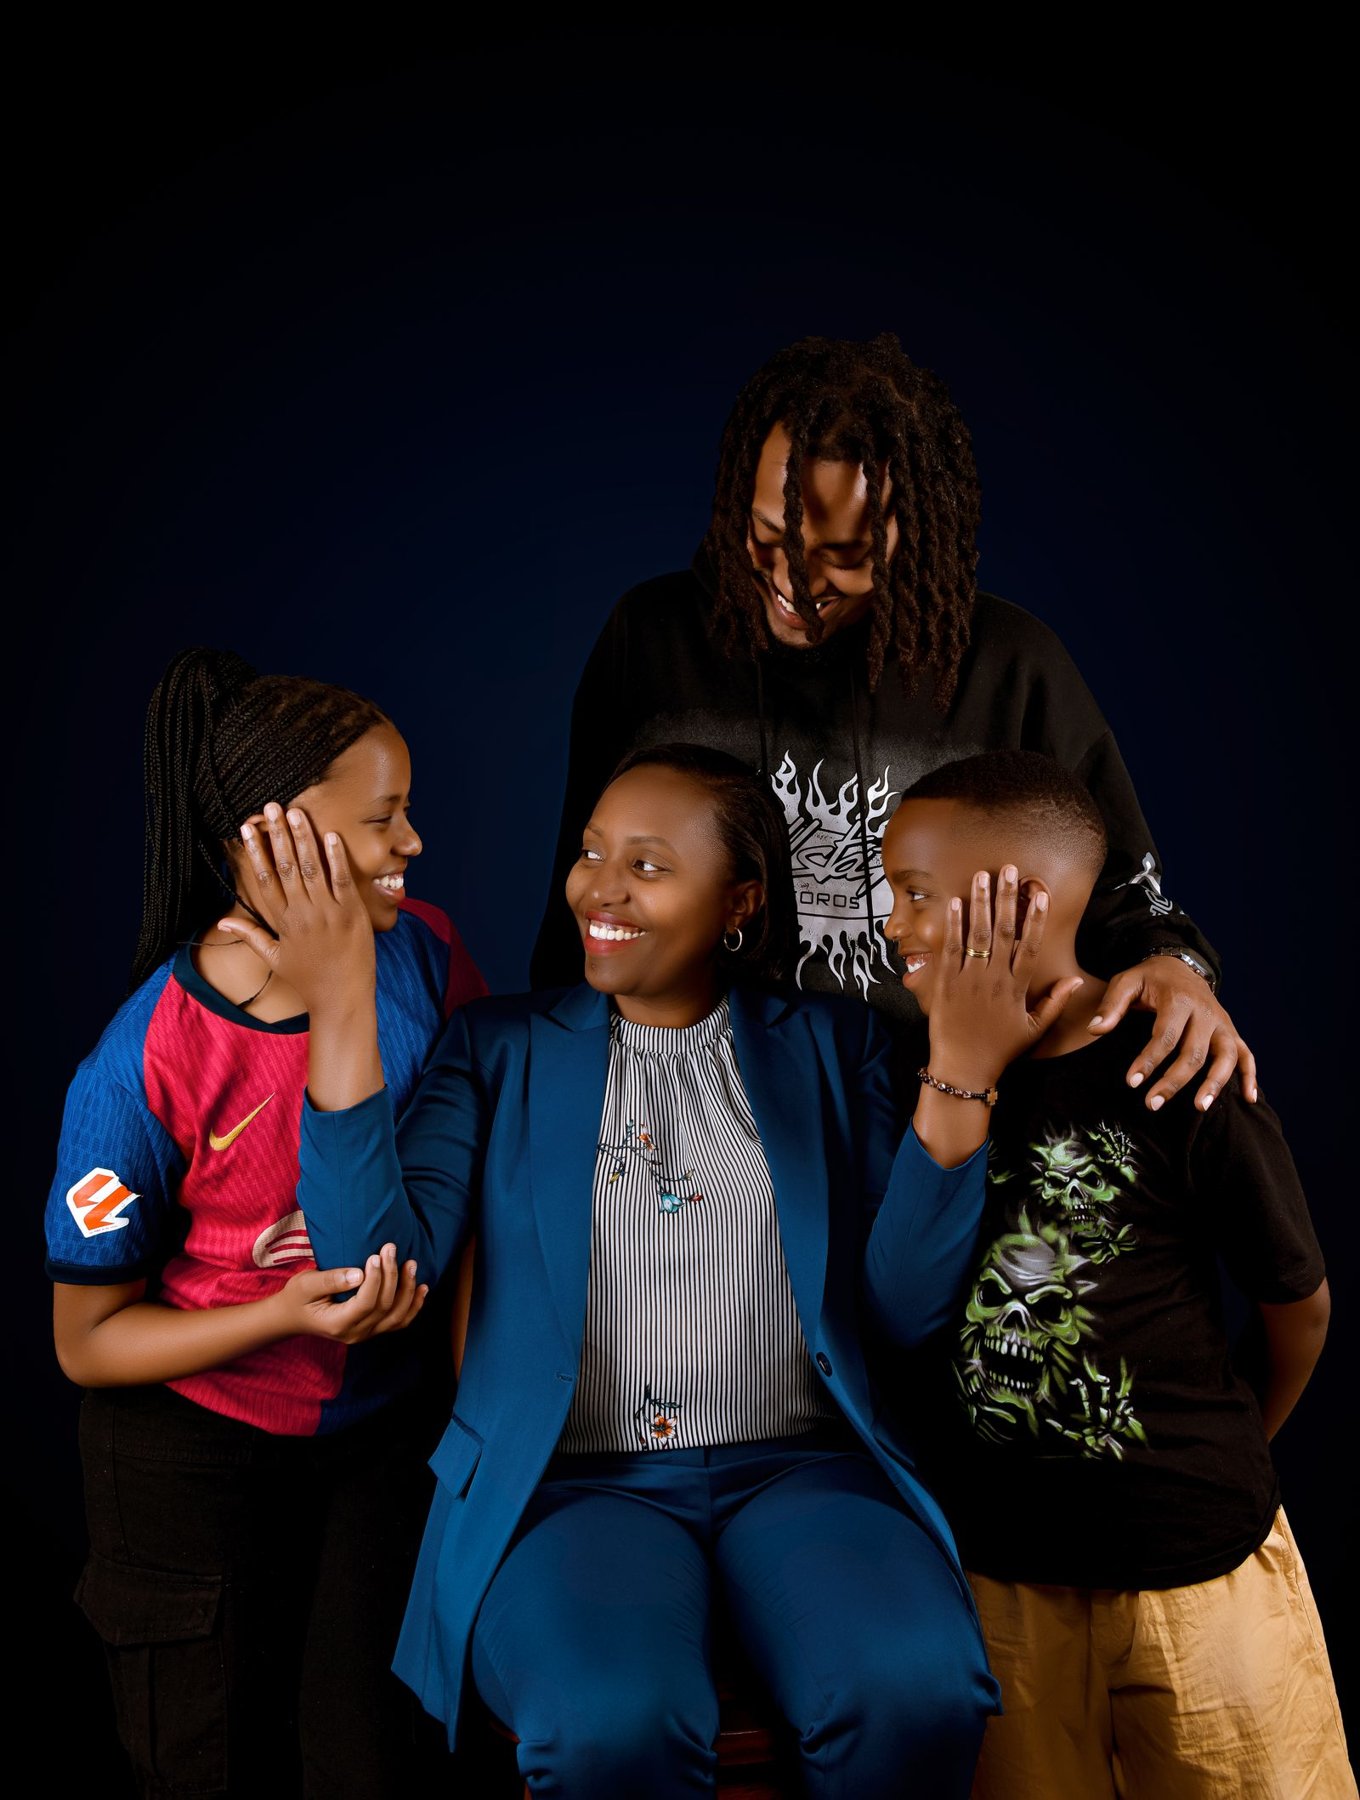
With six people in a narrow living room, one long row may put outer faces near the edges. Three seated people with three standing close behind reduces width but increases the necessary depth of field. Avoid placing the rear row unnecessarily far back. Check visible faces through the viewfinder; overlaps from normal eye height may differ from those at the final camera position.
A slightly elevated camera position can show the second row better but needs stable, comfortable access. Avoid a steep downward view if it makes the front row appear disproportionately large. Choose height for the actual group rather than from a fixed rule. Also inspect hands on shoulders and gaps between heads so that the arrangement does not create accidental mergers.
If the first test shows only the front row clearly, stop down a little and inspect the resulting shutter speed. If it becomes too slow for small movements, raise ISO or improve the light. Shifting focus alone may help, but cannot suffice when the entire required depth exceeds the usable range. That is why both front and rear eyes must be checked in the test frame.
After a successful test, make several short variations without continually rearranging everyone. Changes in smiles or blinking are more likely than a fundamental failure of the setup just checked. Only a visibility or lighting problem justifies a larger adjustment. This keeps the session understandable for everyone involved.
Shared light and brief instructions
Windows along one side may illuminate the nearest person much more strongly. Check brightness across the entire group and rotate the arrangement if necessary. Avoid patches of direct sun on individual faces. Then give one clear, brief instruction, make several versions and allow short pauses. Check closed eyes and hidden hands before the group disperses.