A table beside a suitable light source is often enough for small objects. The harder decision is which shape and feature the photograph should show. A mug needs a readable handle, packaging needs legible lettering, and a tool may need its working surface visible. Establish that information before choosing background and decoration.
A setup with few variables
Choose a matte surface that separates sufficiently from the object. A curved paper sweep can create a transition between table and background without a hard edge. Check its stability and remove dust before placing the object. A small speck appears much larger in a close-up than it does on the table.
Begin with one large side source, such as a window or diffused lamp. A white card opposite can lift shadows. Move these simple surfaces before adding more lamps. Every extra source can create new shadows and reflections and make the cause of a problem harder to identify.
Connect viewpoint and depth of field
A slightly raised view shows top and front but may foreshorten lettering. A frontal view explains flat packaging better. Rotate the object in small steps and check whether important edges separate. On shiny surfaces, rotation changes reflections as well as shape.
Support the camera firmly and choose an aperture that keeps important parts sufficiently sharp. At close distances, even substantial stopping down may not cover every depth. Align important surfaces more closely with the sensor plane or increase distance. For a later focus stack, object and camera must remain unchanged; loose labels or moving parts complicate merging.
A matte box and a glossy bottle
A matte box responds mainly to the distribution of light and shadow. A broad bright surface beside it can show form while a white card opposite limits the shadow. Check lettering on the front and align the camera so the packaging does not appear unintentionally skewed. A darker side can explain depth without obscuring the label.
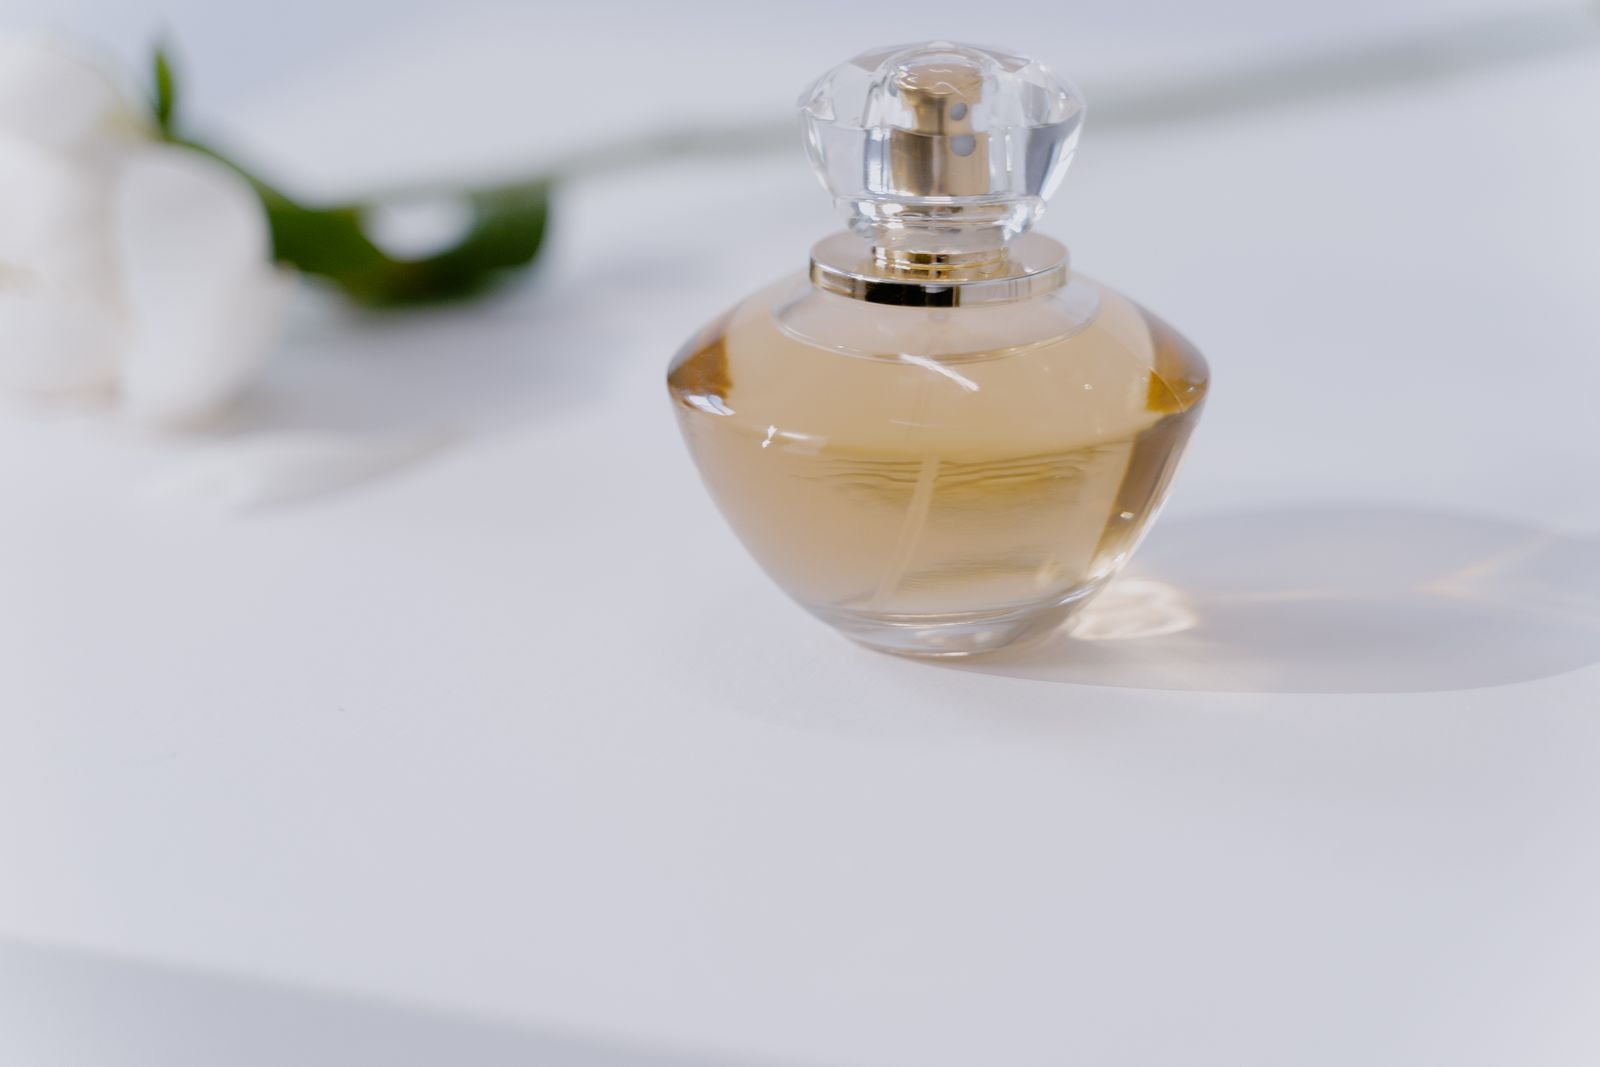
A glossy bottle instead reflects its surroundings. A small bright lamp may appear as a hard dot, while a large bright surface appears as a broad stripe. Move that surface and watch its reflection on the bottle rather than judging only brightness on the table. A clean elongated reflection can describe the round form; several uncontrolled patches make the same surface restless.
Do not photograph both objects under unchanged lighting merely because their sizes are similar. Start with the decisive property: readable packaging, glossy material or recognizable shape. Then create an overall view and a detail that specifically shows that property. A product sequence need not force every piece of information into the same angle.
Before dismantling the setup, inspect label, closure, lower edge and shadow at enlarged size. Dust and small adhesive marks often seem less obvious during capture than afterward. Quick cleaning or a slight rotation saves more time than repairing numerous similar files later.
Create a useful sequence
Photograph a clear overall view, a second informative side and one detail. Keep camera height, background colour and white balance consistent when several products belong together. Mark positions outside the frame so the setup can be repeated. A scale reference may help, but it should be clear and not misleading.
Before dismantling, inspect lettering, edges, dust and reflections at magnification. Retouching can remove accidental dirt, but should not conceal relevant material characteristics or wear when documenting a specific object. Keep the original and export a suitable copy with enough border for its later use.