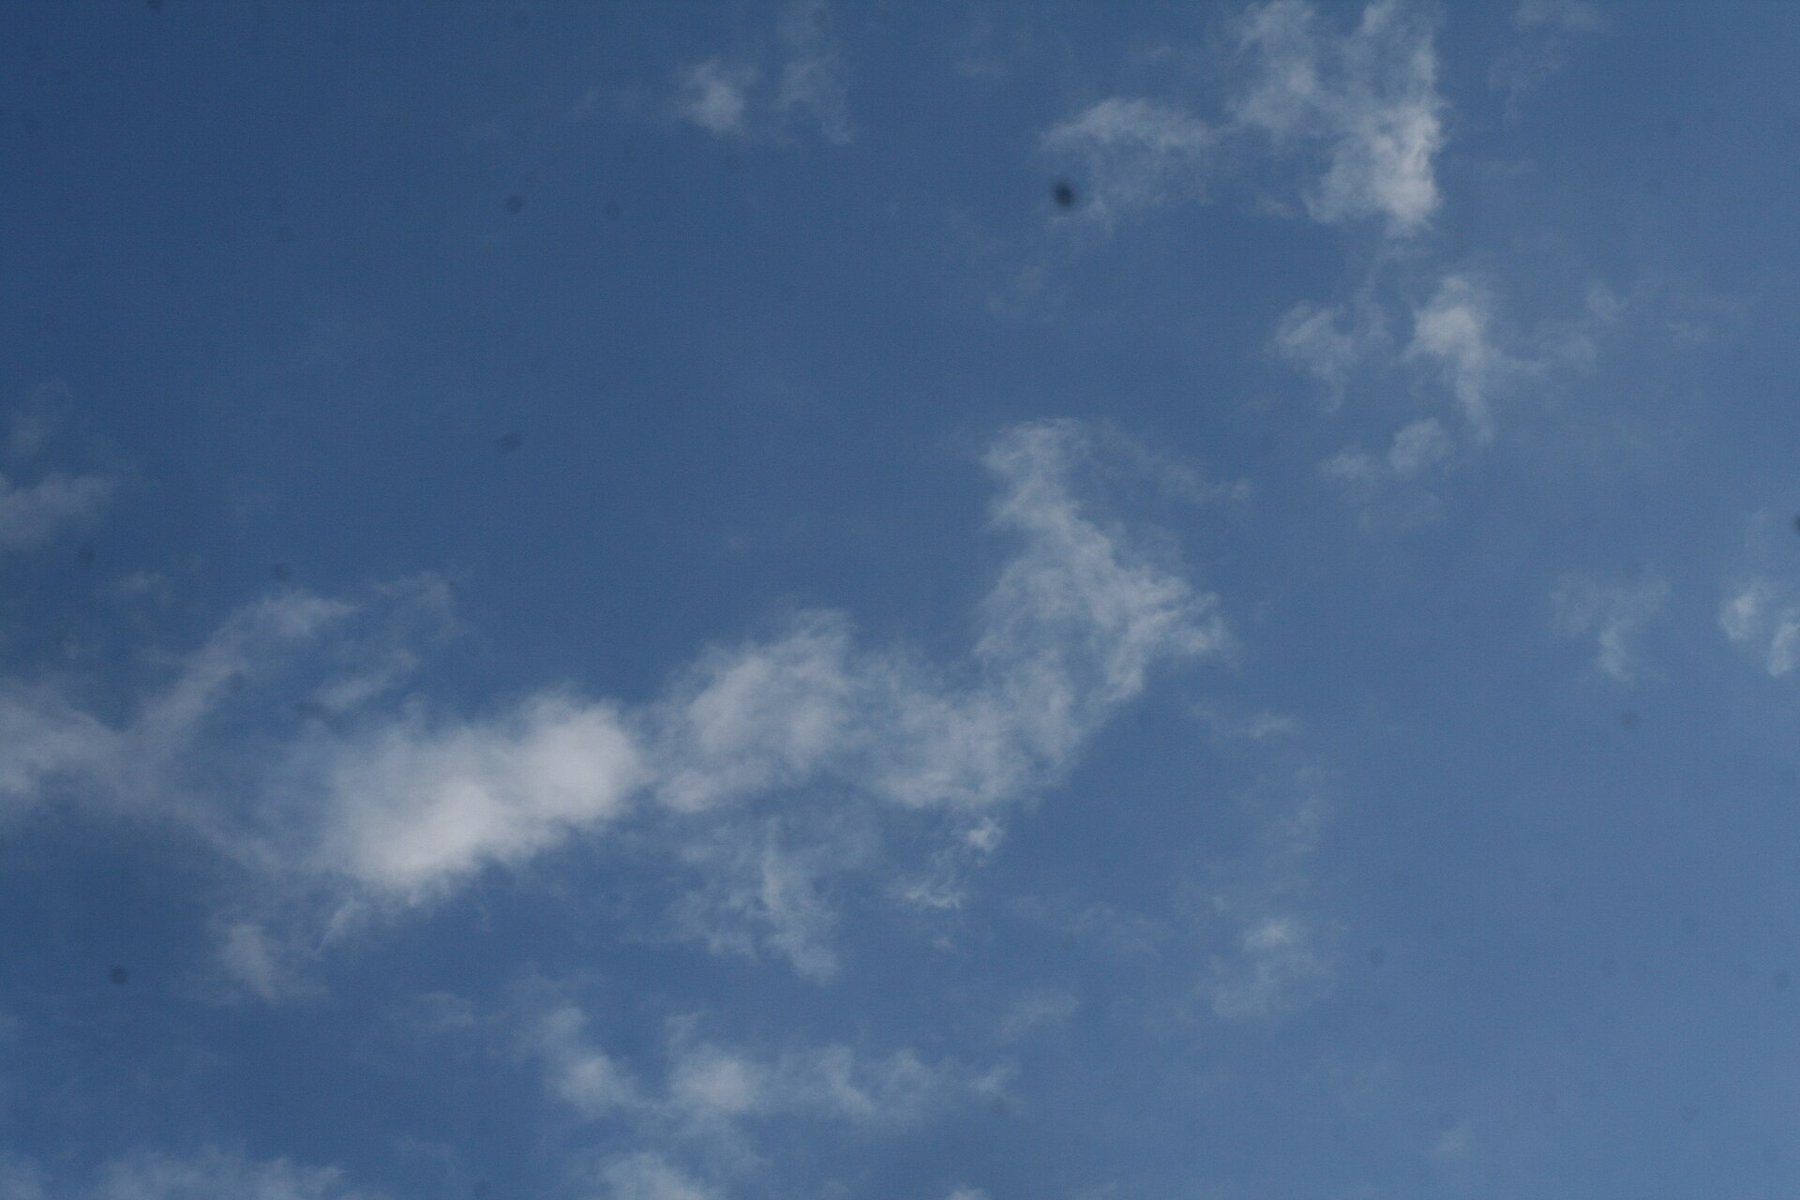
A small dark circle in the sky may come from dust in the camera system, but it could also be a bird. Before automatically cleaning an entire sequence, compare several frames. A mark staying at the same image position while the scene changes is more suggestive of a technical spot. Editing removes its visible effect, not the physical cause on the camera.
Inspect the image systematically
Inspect even areas such as skies, water or pale walls. A high-contrast spot visualization can reveal faint marks, but also highlights genuine details. Check each suspicious area again in the normal view.
At higher magnification, scan the photograph in overlapping passes instead of jumping randomly around it. Start at the upper left and work downward in rows, for example. This is particularly useful for large prints, where a mark missed in a preview may become obvious.
Choose an appropriate source
For a small spot in an even sky, a repair slightly larger than the mark often suffices. Check which neighbouring area the application uses as its source. A cloud edge or another spot is unsuitable even if the automatic result initially looks unobtrusive.
Near a building edge, the repair must preserve the line. Use a source with similar structure and orientation or work in several small steps. A large soft repair can smear the edge. In repeating patterns, an incorrect continuation often draws more attention than the original dust mark.
Do not transfer repairs blindly
A copied repair can land on a face or branch in another frame. Inspect each result after transferring it. Some automatic dust tools detect marks separately in every photograph; visual checking is still necessary.
Finally inspect the whole image for repeated cloud shapes, conspicuous circles and unusually soft islands. Keep repairs editable. If spots recur in new captures, consult safe cleaning instructions for your camera model rather than touching its interior indiscriminately. The edited file may be clean while the capture problem remains.