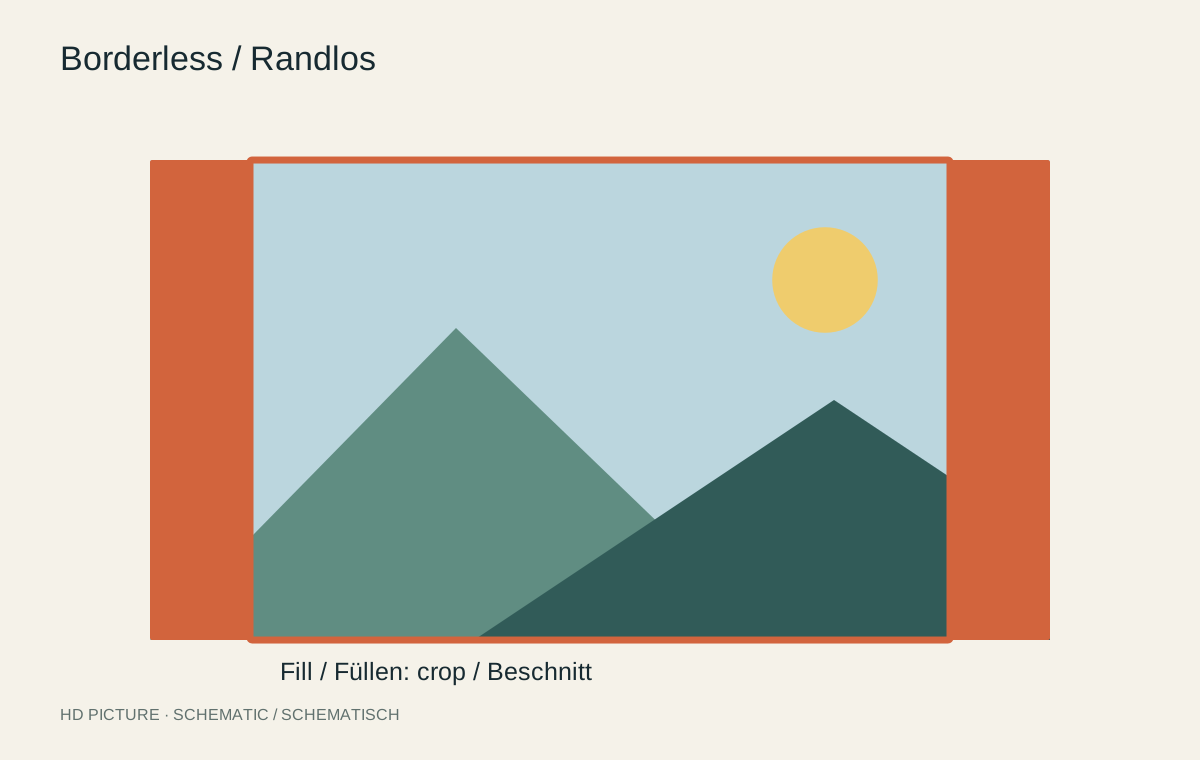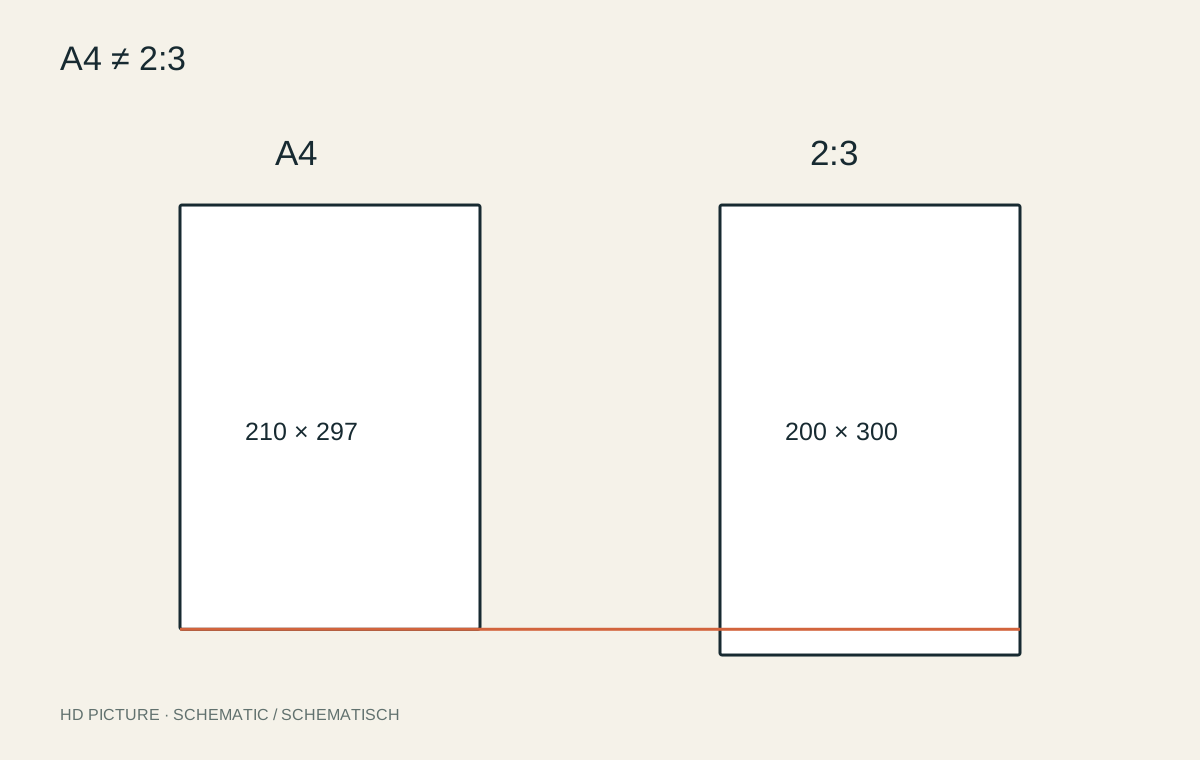
A4 measures 210 × 297 mm and has an aspect ratio of approximately 1:1.414. A typical 2:3 photograph is proportionally longer. Printing it borderlessly on A4 removes image area, while retaining the complete picture leaves borders. Higher resolution or another file format cannot remove this geometric difference.
Work through a landscape example
Fit a 6000 × 4000 pixel image completely onto a landscape A4 sheet measuring 29.7 × 21 cm. At full paper width, the picture becomes 19.8 cm high. A total of 1.2 cm remains vertically, or approximately 0.6 cm above and below when centred. Printer margins may further restrict the usable area.
To fill the sheet, the picture must instead reach 21 cm high, making it 31.5 cm wide. A combined 1.8 cm is then removed from the sides. You decide how to distribute that crop; centring is not mandatory.
Read frame descriptions carefully
An A4 frame does not automatically fit a 20 × 30 cm photographic print. The dimensions are close but not identical. A mat can bridge differences when its external dimensions and opening are chosen appropriately. Measure both before trimming a print.
Product names such as a “10 cm format” may refer to different fixed or variable lengths depending on the service. Check the actual order dimensions. A preview showing changing borders suggests that the image and paper ratios still differ.
Create the output version deliberately
Create an A4 canvas in the editor when you want to control the photograph, border and caption yourself. Place the image proportionally on it. Avoid then selecting another fill option during printing that cuts off the border you carefully prepared.
Inspect the print preview and, if helpful, make a simple paper proof. Borderless output requires a compatible device or product. Keep the original image without the A4 surround so a later traditional photographic size does not have to be cropped out of an already assembled page.