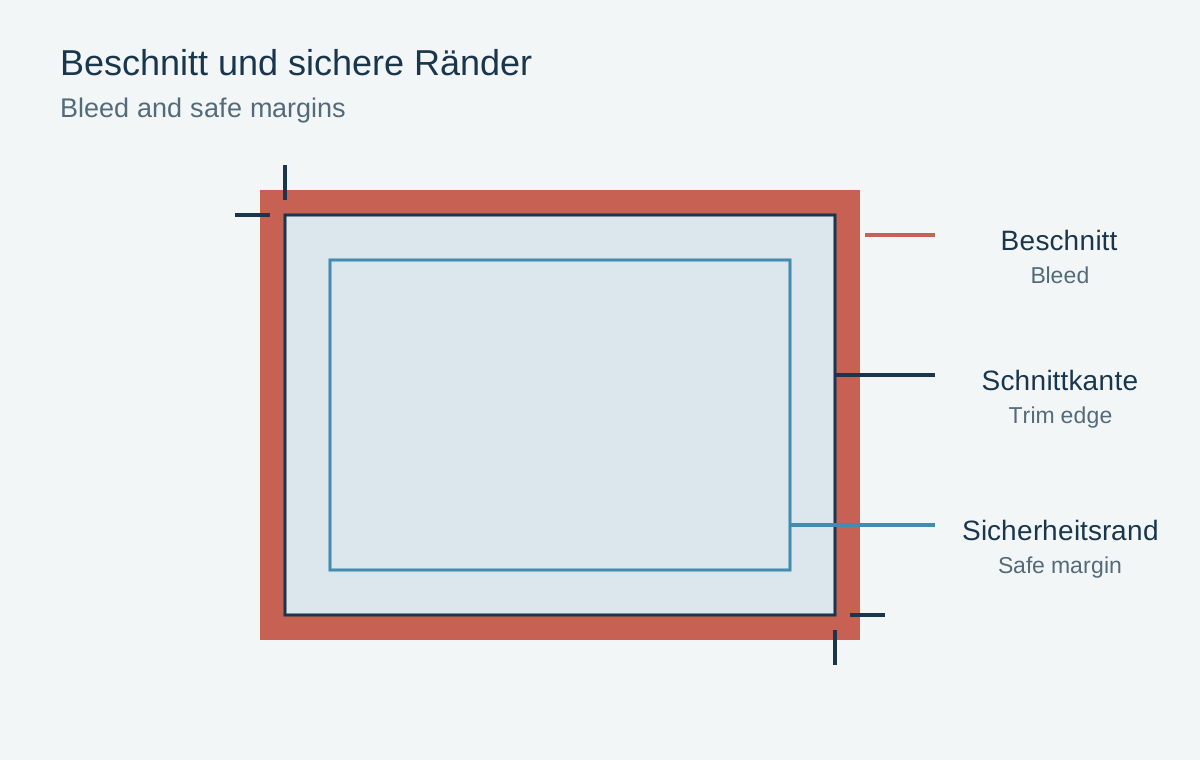
A print template has more than one outer boundary. Trim size describes the finished page. Bleed lies outside it so an image reaching the edge does not develop white slivers after small cutting variations. The safe area lies inside the page, keeping lettering and important subjects away from vulnerable edges.
Distinguish three areas of a page
Imagine a page with a 200 × 200 mm trim size and an illustrative 3 mm bleed on every side. The prepared area would be 206 × 206 mm. These figures are only an example; use the actual template for your product. Covers may require different allowances from interior pages.
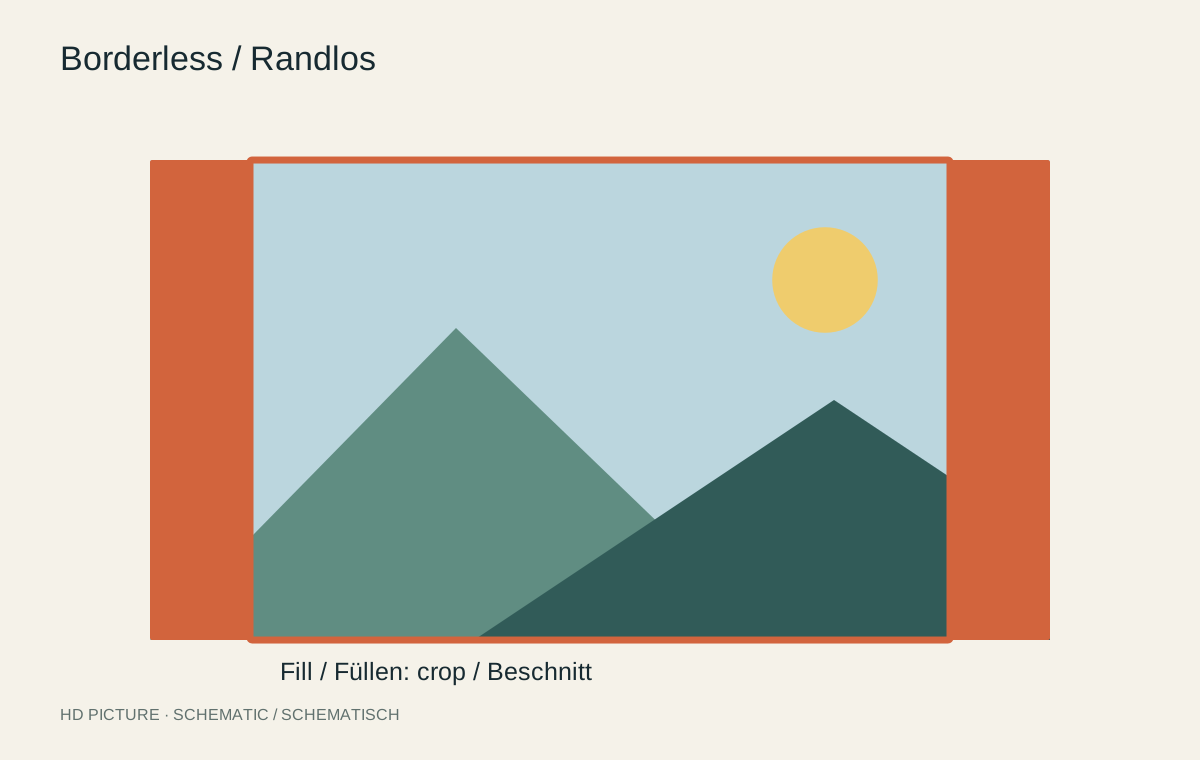
A background photograph must reach the outer bleed boundary. A name should sit comfortably inside the stated safe area. Extending the image only to the trim line can expose white paper after a slight cutting shift.
Do not enlarge the photograph blindly
Creating a full-bleed background often requires placing the photograph slightly larger. Check hands, heads and captions while doing so. A tightly framed group photograph may be unsuitable for that layout. A bordered design is preferable to cutting off a face.
An artificially extended edge may help a design, but it contains newly created content. Consider that distinction for documentary presentation. Often the simpler solution is to place the photograph smaller and treat the remaining page area as a deliberate background.
Treat the gutter and cover separately
The gutter is not automatically equivalent to an outer trim edge. Depending on binding, image area may be less visible there or require different preparation. Use the correct product template rather than transferring measurements from another book.
A cover also involves spine width, creases and possibly wrapped material. Spine width may depend on paper and page count. Build the cover with the appropriate final template and check front and spine titles separately.
Build a full-bleed title page deliberately
Suppose a landscape photograph must fill a title page, with a place name near the bottom. First extend the photograph to the outer bleed boundary. Move it within the frame so the mountain summit stays away from the vulnerable trim area. Then place the name separately as text within the recommended safety margin. The lettering does not need to enlarge with the photograph.
Now imagine the trim edge shifting slightly in each direction. Would a white sliver appear? Would the place name be cut or feel too close to the edge? A layout that works only with perfectly centred trimming is too sensitive for ordinary production. More clearance can solve the problem without reducing the text size.
If a narrow border forms part of the design, even small deviations can create visibly unequal widths. Choose a more generous border or establish tolerances with the provider. A very thin line directly on the trim boundary is a particularly poor place to rely on perfect symmetry.
Inspect the finished file without guides
Hide template instructions before export as the provider requires. Include crop marks only when explicitly requested. An accidentally printed guide cannot be switched off after production.
Open the exported file and inspect every page for full-bleed backgrounds and adequate text clearance. Review ordering-software warnings individually. An automatic check can detect technical thresholds, but cannot reliably decide whether a cropped object matters to your story.
Also check whether delivery requires individual pages or spreads. A spread that looks correct can still be the wrong technical delivery form. Inspect page dimensions and order in the final file, not only in the design application. If the service supplies a template or export preset, retain that exact version with the project.