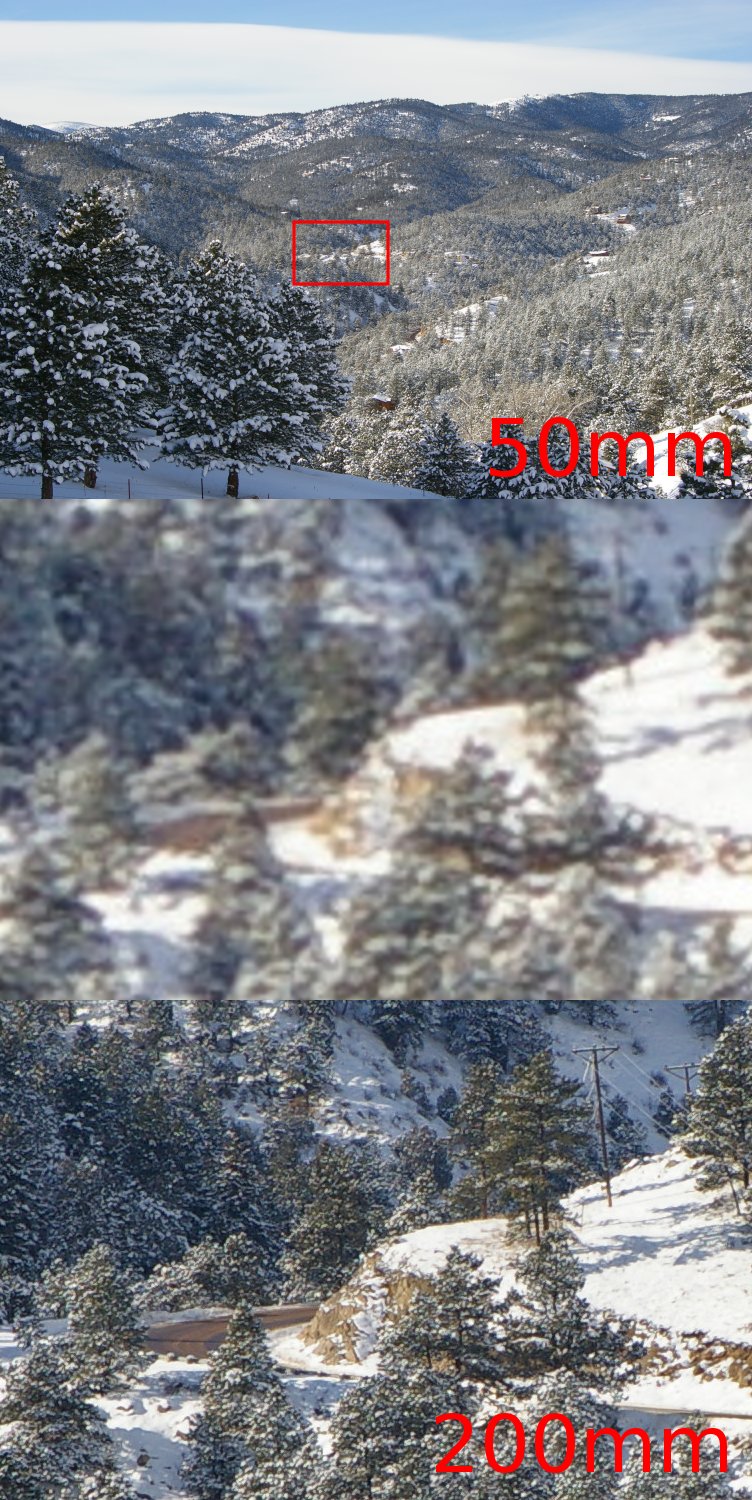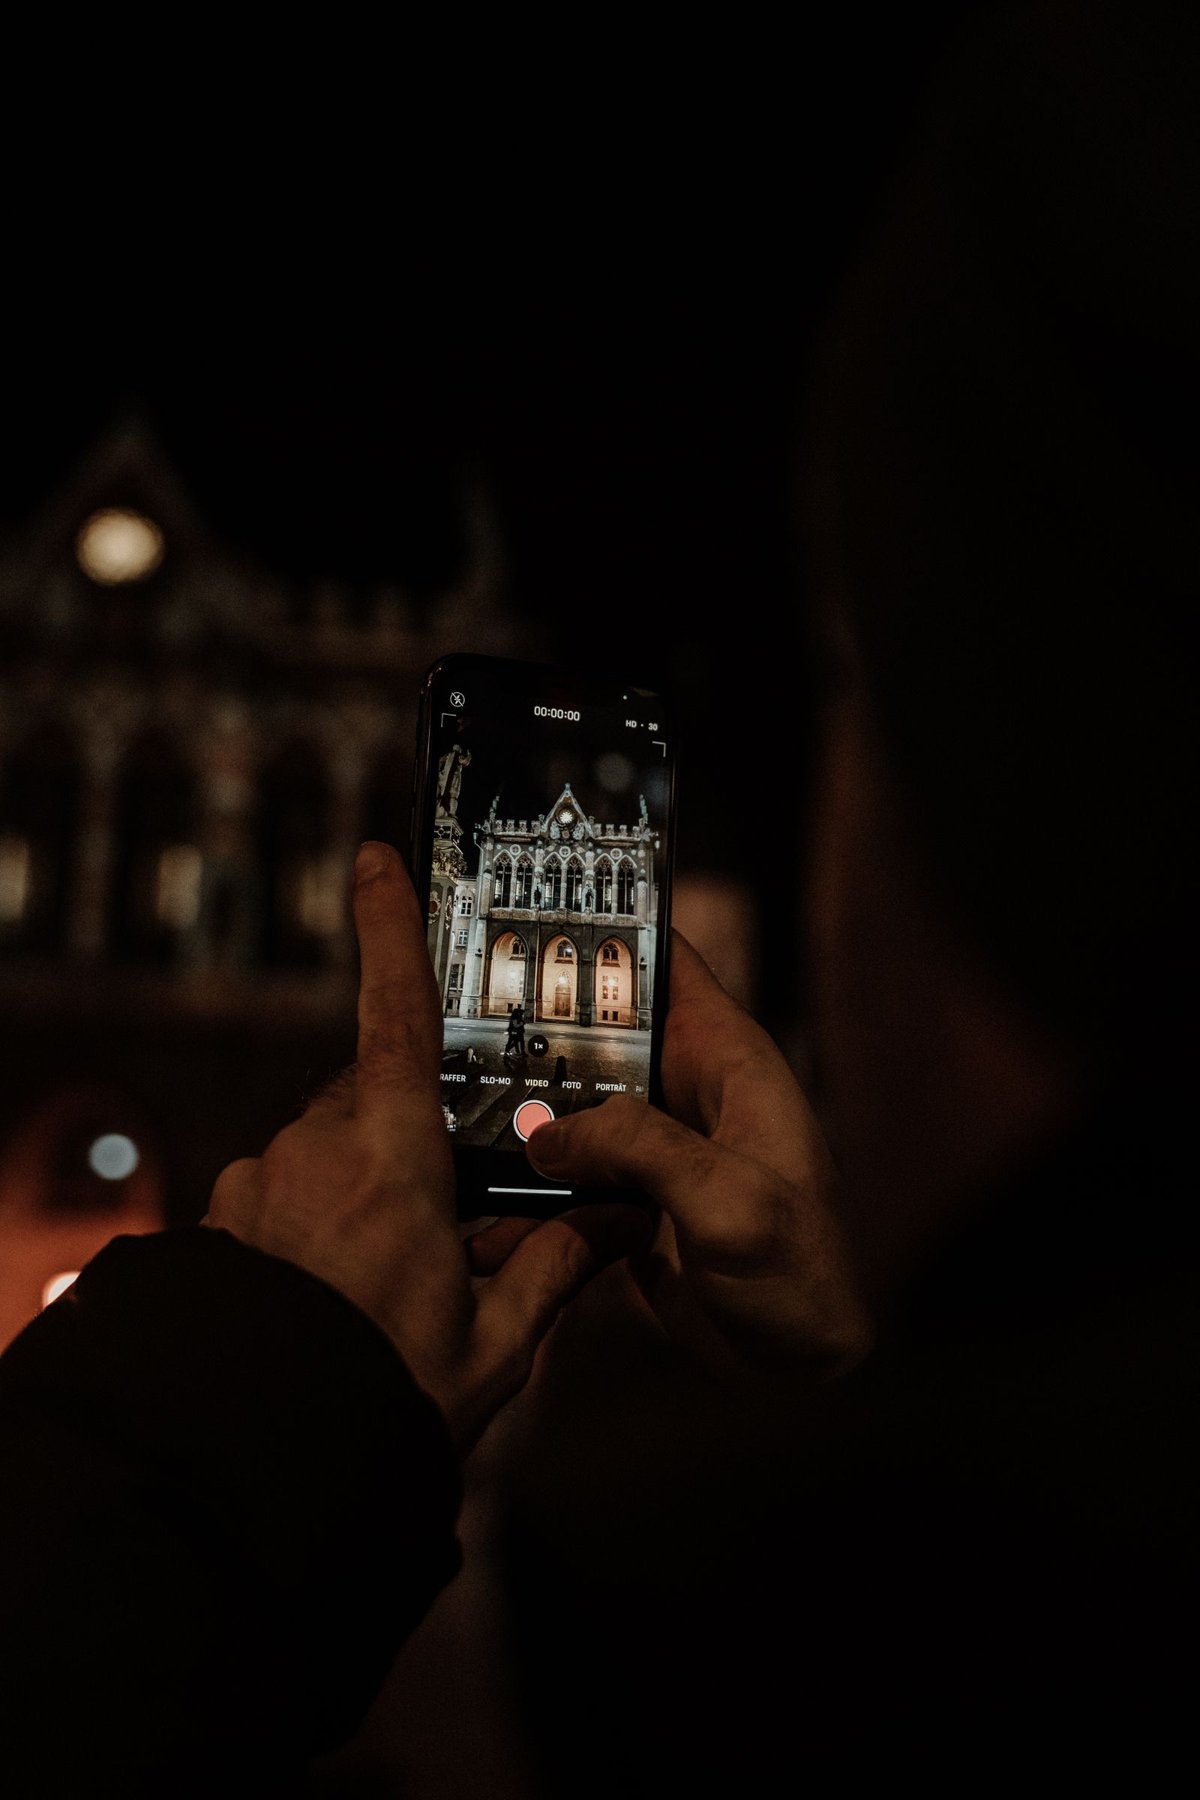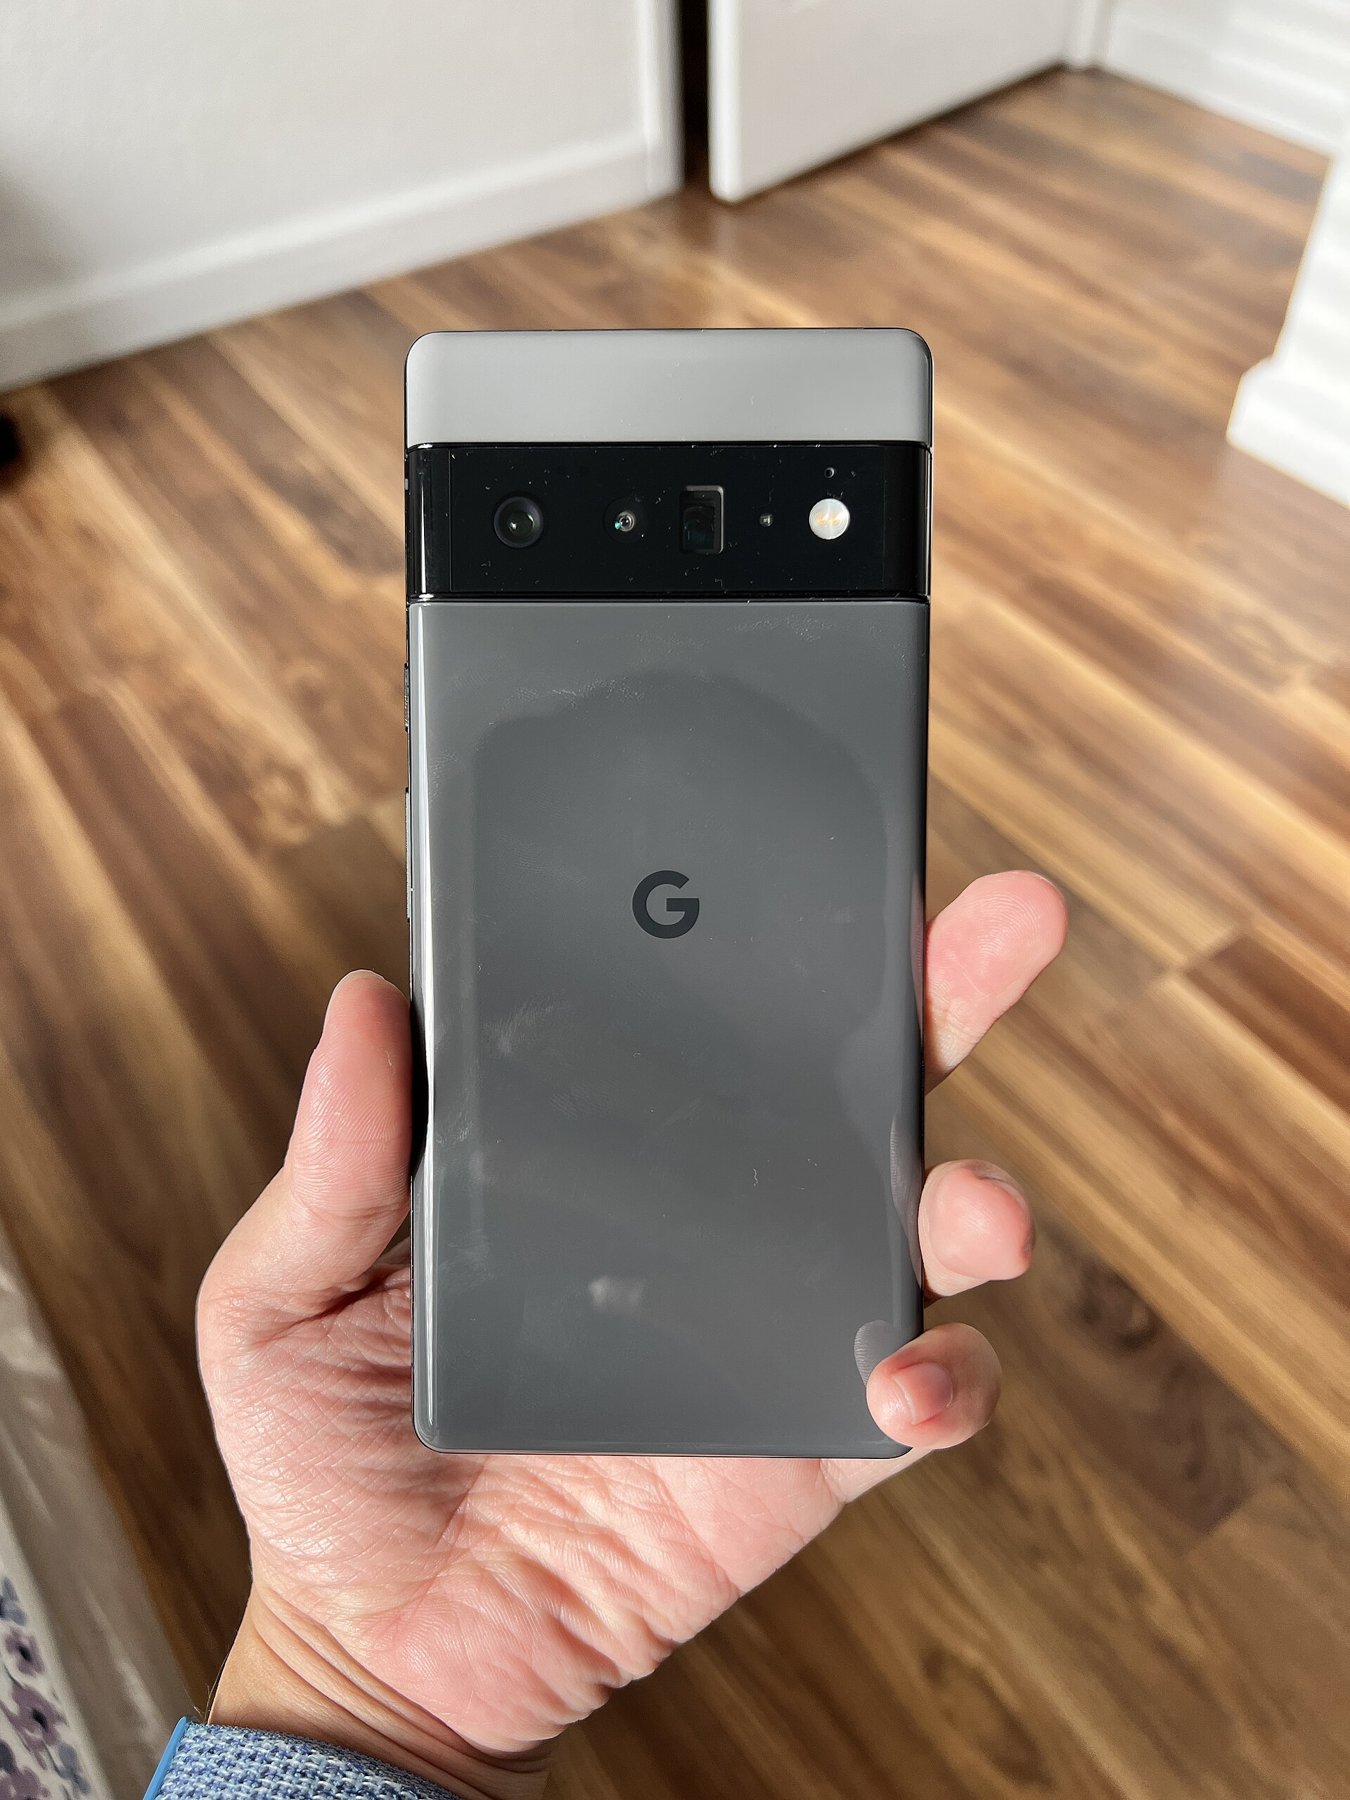
Several cameras on the back of a phone serve different purposes. A very wide view helps in confined spaces, while a longer view can make distant subjects larger. The main camera often corresponds to the view marked 1×. However, the camera actually used can depend on mode, distance and lighting. A small comparison tells you more than counting the visible lenses.
Choose a clear starting point
Open the ordinary photo mode and choose its standard view. Check whether a previously saved zoom setting or a special capture mode remains active. Supported iPhone models allow different default main-camera views, so the preset view does not always show the same framing.
Photograph a stationary subject with detail at the center and edges. A bookshelf or textured facade is more useful than a plain surface. Keep enough distance to avoid unintentionally activating an automatic close-up function.
Then compare the other available views. First assess each photograph as a whole: which composition works? Only afterwards examine detail, edge rendering and noise. A technically cleaner image is not automatically the stronger picture if important parts of the subject are missing.
Include light and distance in the check
Repeat the comparison in a moderately lit interior. Differences between camera modules may become clearer there than outdoors. Hold the device equally steadily for every capture and avoid moving people when initially comparing image quality alone.
With nearby objects, watch for the view jumping as you approach. This can indicate an automatic camera switch. For a consistent product series, a slightly greater fixed distance is often easier to control than working at the closest possible focusing distance.
Finally, note two or three useful starting points for your device: perhaps the standard camera for everyday use, a wider view for interiors and one deliberately tested zoom setting. These personal comparison pictures remain more informative than assuming every displayed zoom number represents a separate lens. After major camera-software changes, a brief repeat test is worthwhile.
Keep a camera choice consistent for a short series
Suppose you are photographing several objects for a personal inventory. First decide how large the biggest object should appear and mark repeatable positions for the phone and supporting surface. Continually moving very close to smaller objects may change perspective and automatic camera selection. A slightly more distant, consistent setup followed by cropping often produces more comparable pictures.
Still check that the smallest objects retain enough detail. A ring and a large bag do not necessarily need the same setup. If necessary, divide the series into two size groups. Within each group, keep distance, view and lighting similar; a justified change between groups is reasonable.
At the end, compare more than isolated sharp areas. Check whether colors and spatial appearance agree across the pictures. An automatic switch to another camera may change the impression of noise or color as well as the angle of view. This deserves inspection, but is not proof of a fault.
The term “main camera” therefore answers an organizational question: which view provides the starting point for a repeatable workflow? The final choice follows from subject, distance and output rather than a ranking of camera modules.