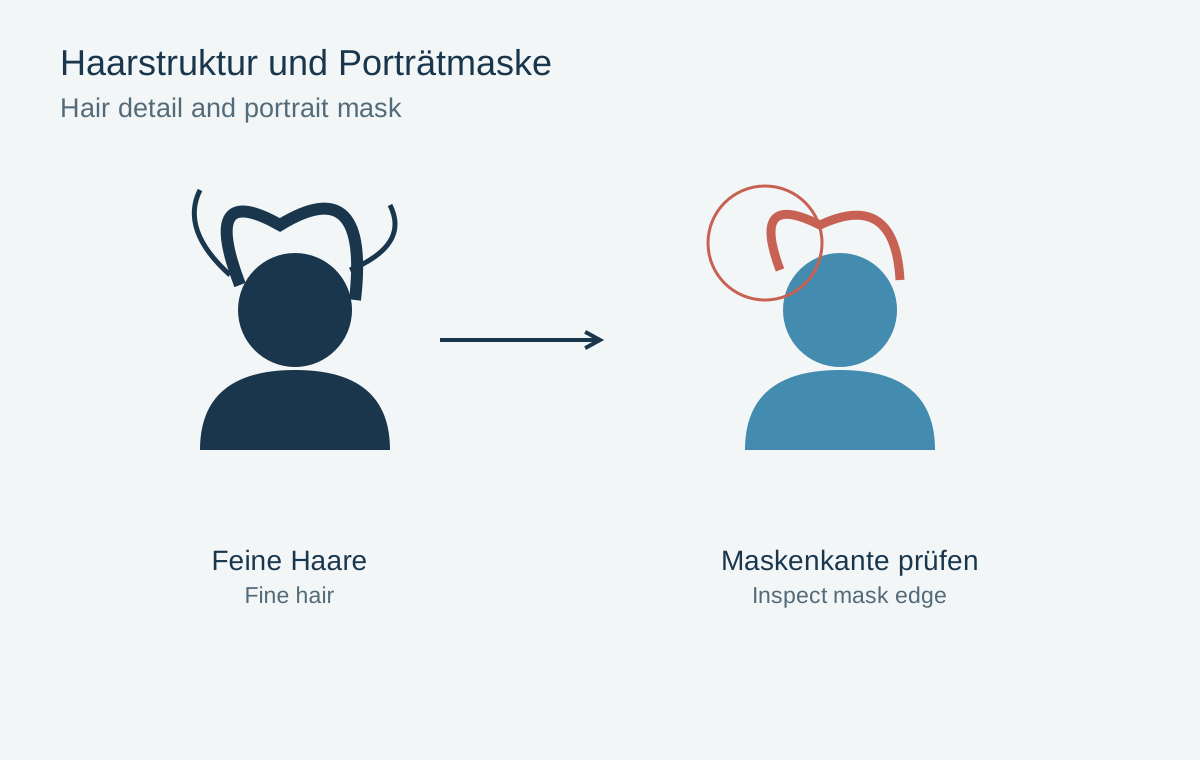
In portrait mode, a person remains distinct while the background appears soft. Part of this effect comes from computationally assigning image regions. The separation can become visible around fine hair, transparent glasses or gaps between fingers. Assess whether those boundaries fit the subject before judging how strong the blur looks.
Simplify the starting scene
Leave some distance between the person and the background. A railing immediately behind the head introduces many competing edges. A quieter background makes the computation easier to judge and improves the composition itself. It need not be an empty wall; a more distant, less cluttered area is often enough.
Choose even light that reveals the face and hair texture. Very dark hair against an equally dark background can be difficult to distinguish even without portrait effects. A bright surface to one side or a different camera angle may make the outline clearer without demanding extreme processing.
Follow the device's suggested distance when it displays one. Moving too close also changes facial proportions. For a tighter composition, first consider an appropriate shooting distance and the available views instead of simply bringing the camera nearer the face.
Inspect four kinds of transition
First magnify the hairline and individual loose strands. Look for abruptly cut-off hairs or a sharp rim against a heavily blurred background. Next inspect spectacle arms and the regions inside the lenses. Transparency does not always fit a simple foreground-versus-background division.
Third, examine gaps between an arm and the body or between fingers. Such a gap should not automatically receive the same sharpness as the person. Finally, inspect objects they are holding. A cup in front of the body or a bouquet may span several distances rather than belonging entirely to one plane of focus.
This inspection does not demand a perfect cutout of every fiber. What matters is whether the transitions distract at the intended output size. An error visible only at extreme magnification may be unimportant in a small print, whereas a heavily blurred half of a pair of glasses can remain obvious.
A weaker effect can look more convincing
If the software offers depth adjustment afterwards, reduce the background blur gradually. Apple documents this adjustment for supported portrait photographs. A weaker effect sometimes makes boundary errors less noticeable, but does not repair incorrectly assigned image regions.
Compare the version without the portrait effect too, if available. A well-composed background may work better than strong artificial blur. Keep the editable capture so that you can reconsider the effect for another output. When reshooting, a different background or a slight change of pose often helps more than spending further minutes on a slider.