A scan can make a family photograph easier to share and preserve information against further loss. It is also a new capture of an existing object. Paper texture, marks, inscriptions and damage may belong to its history. Separate a reasonably faithful digitization from a later retouched version for an album or gift.
Prepare the original safely
Check whether the print is stable, loose and flat enough for scanning. Do not tear a mounted photograph out of an album merely to fit the scanner glass. Brittle, curled or glass-adhered pictures may need low-contact reproduction or professional help. Never force the scanner lid closed.
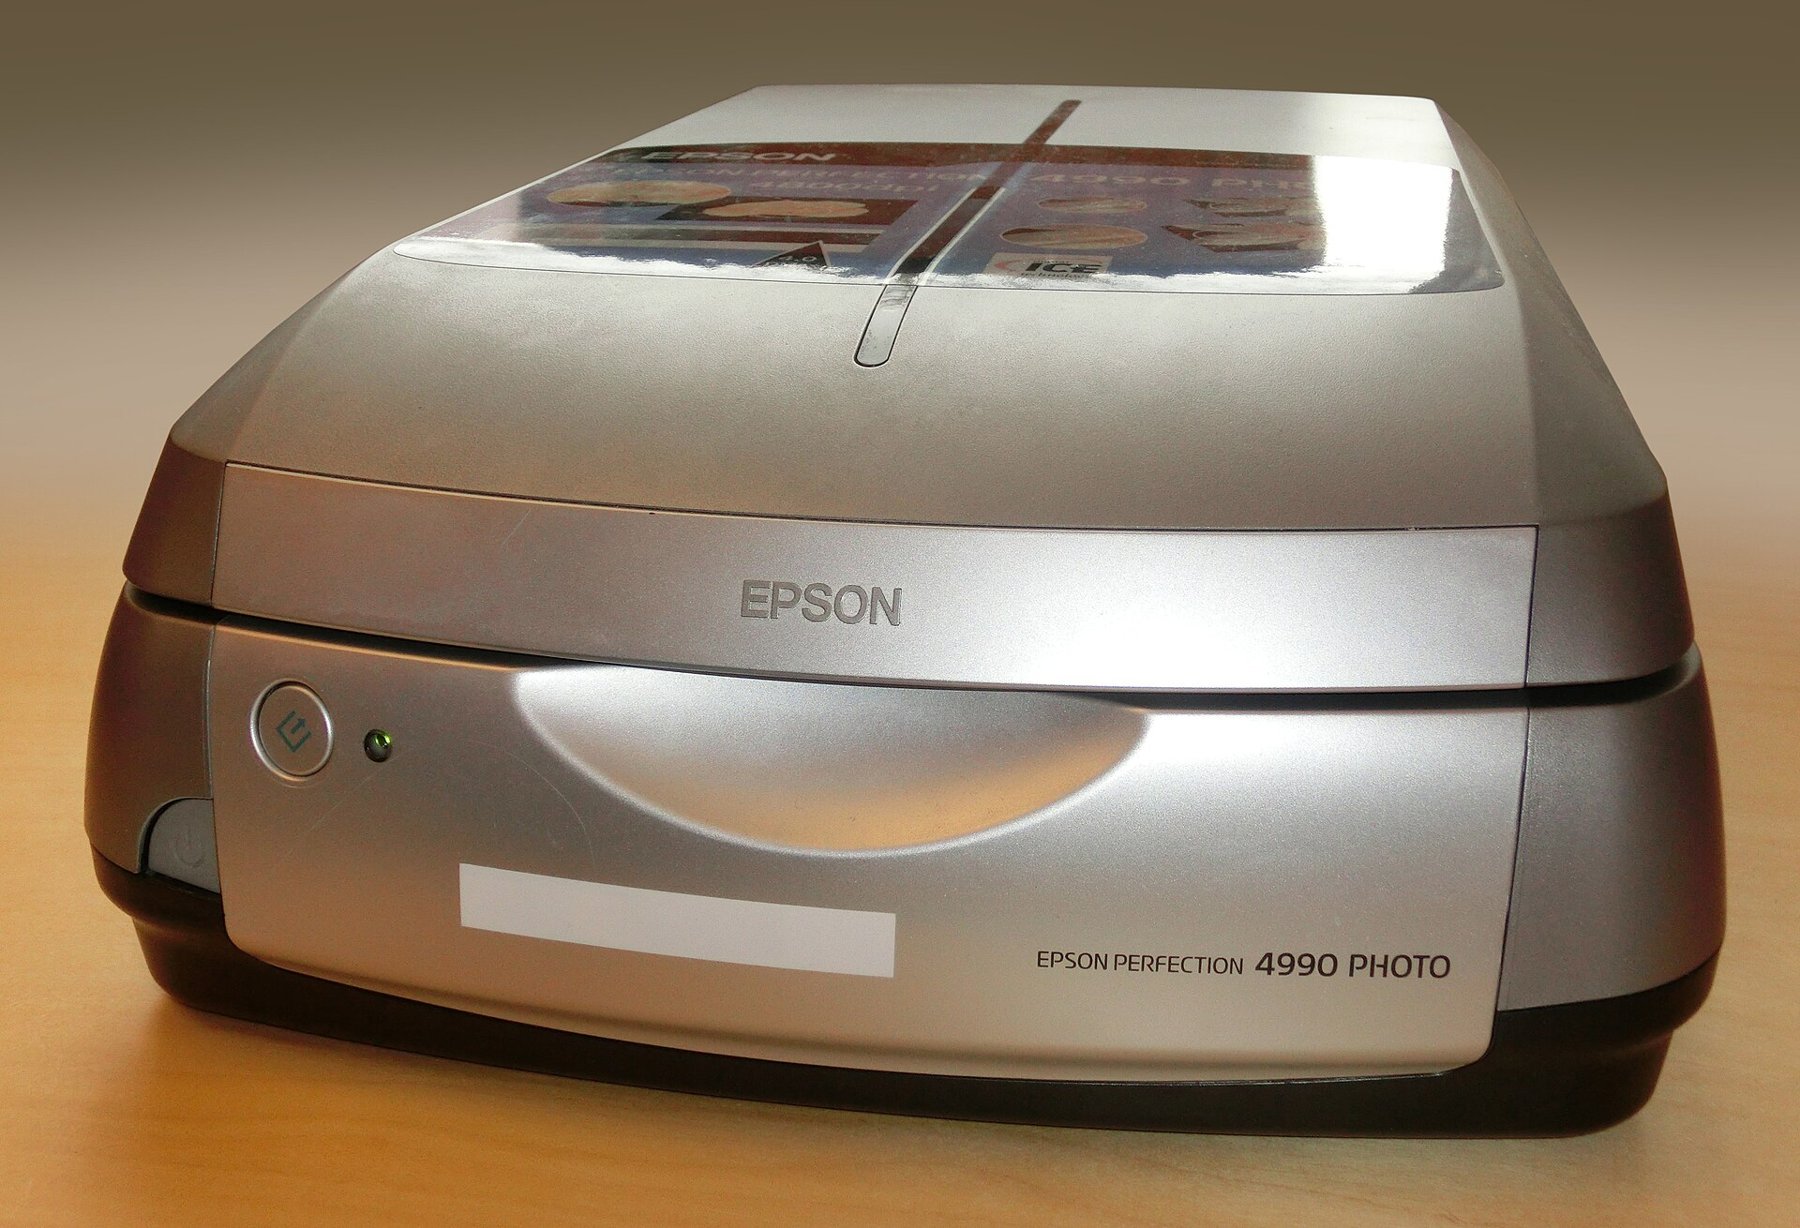
Clean the scanner surface according to its instructions before placing the print. Inspect for dust and residue. Do not treat the photograph itself with untested cleaners. A small mark can be edited in a digital copy later; damage to the original image layer is harder to undo.
Derive resolution from the intended size
A moderate scan may suffice for reproduction at a similar size. If a 10 × 15 cm print will later appear approximately twice as large, maintaining the same output density requires roughly twice the scanning resolution along each side. At 600 ppi, that print produces approximately 2362 × 3543 pixels, giving about 300 ppi across 20 × 30 cm.
This calculation does not guarantee that much genuine detail. A blurred old print does not acquire new structure because it is scanned at a very high number. Compare a small detailed section at two sensible resolutions. If only paper grain and file size increase, the additional benefit is limited.
Distinguish the scanner’s optical capture from interpolated enlargement. The highest selectable number may exceed useful captured detail. Read the specifications and inspect the files instead of automatically choosing the maximum.
A small contact print with pronounced paper texture is a special case. Higher scanning resolution may reveal the surface more clearly without adding much subject information. Inspect an eye, lettering or a distinct edge rather than only an even patch. A surviving negative may contain more subject detail than a small later print, but requires a suitable scanning workflow.
For each digitization batch, record scanner, resolution, colour mode and enabled automatic features. This is especially useful when adding photographs several weeks later. A changed default could otherwise produce inconsistent contrast unnoticed. Keep the note in the project folder without embedding it into the image pixels.
Check automatic corrections
Scanning software may restore colour, remove dust, sharpen or alter contrast. First retain a version without strong automatic intervention where the workflow permits. Faded colour can be interpreted later; bright or dark values clipped during scanning are harder to recover.
Test dust and scratch functions on the actual material. Methods are not equally suitable for every photographic process. Inspect fine facial features and lettering so genuine information is not removed as a defect. The scanner manual identifies supported originals.
Connect front, back and context
Scan important handwritten reverses as well. Give front and back related unique filenames, such as a shared number followed by “front” and “back”. Capture loose notes separately and connect them through the same number. This preserves the relationship when files are sorted later.
Record known people and places outside the image pixels in a companion file or suitable metadata. Retain uncertain identifications as uncertain. Correcting a name later should not require recreating the scan itself.
Preserve master and restored copy
Save a high-quality master and make smaller sharing copies. A lossless file may suit the master if your archive workflow can continue reading it. Give the retouched version another name rather than replacing the faithful starting capture.
After scanning, check focus, complete edges and orientation. Keep copies in more than one location and test that they open. Return original prints to suitable storage. Digitization provides another way to access the collection, not a reason to neglect the physical photographs.