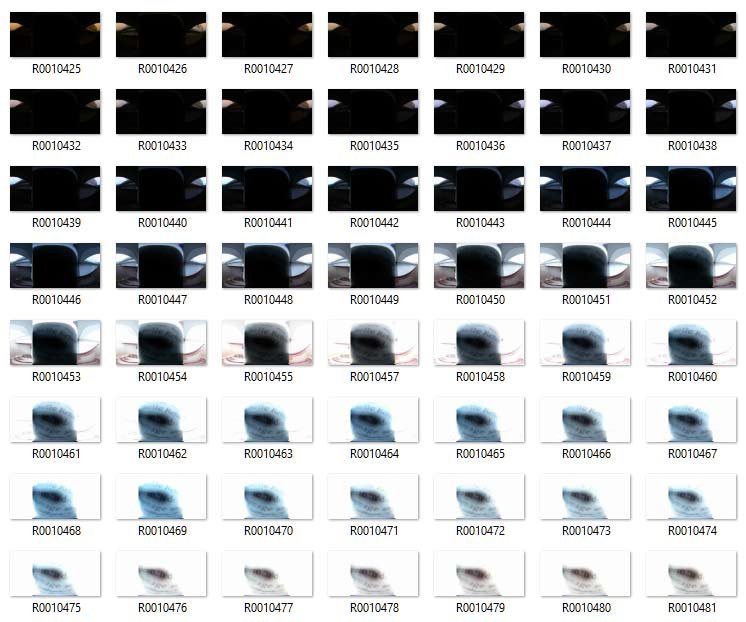
In a high-contrast interior, one exposure may preserve the windows while another reveals dark furniture more clearly. An exposure bracket saves several brightness versions of the same scene. You can later select the best one or merge suitable frames. Framing, focus and preferably depth of field must match between them.
Choose the spacing between frames
Three frames at −1, 0 and +1 EV may be enough for an initial comparison. If even the darkest loses important highlights or the brightest barely reveals shadow detail, the bracket is too narrow or poorly centred. Inspect the outer frames. More files alone do not guarantee coverage of the required brightness range.
For later merging, a fixed aperture is usually useful so depth of field does not change. Vary shutter speed and keep ISO as constant as possible. Automatic bracketing functions alter different parameters depending on exposure mode. Check your camera’s settings rather than assuming an enabled bracket always varies time alone.
Space an interior bracket meaningfully
For an interior with a bright window, do not automatically begin with as many frames as possible. First identify the darkest exposure that preserves important window detail and the brightest in which required room shadows look sufficiently clean. Intermediate frames need to bridge that range. If every frame shows the same white window, the bracket adds no information there; its dark end did not reach far enough.
Keep aperture constant so that depth of field and rendering do not change between frames. Varying shutter speed is often easier to merge for stationary furnishings. Check curtains, a fan or leaves beside the window, however. Small movements can appear as double edges or locally unnatural patches after merging.
Inspect these transitions in the merged result before changing overall contrast. Where movement causes trouble, consider using one suitable exposure as the basis for that area. Merging is not compulsory merely because a bracket exists. If one frame already shows the required detail convincingly, it may provide the cleaner result.
Keep the individual files at least until the final inspection. A bright halo noticed later around the window is easier to investigate when the underlying frames remain available. The finished file alone no longer reliably shows which part came from which exposure state.
Movement and alignment
A tripod makes consistent framing easier but does not prevent subject movement. Leaves, water, people or a moving curtain can change position between frames. Software can reduce some ghosting but cannot solve every overlap convincingly. If a person is important in the image, one carefully chosen exposure may provide a better starting point.
When shooting handheld, capture the bracket promptly and leave some border for later alignment. Avoid refocusing or changing zoom between frames. Also check that every planned frame was actually recorded. Some cameras require several shutter presses; others complete the whole bracket in one sequence.
Reset after the bracket
Turn the function off deliberately when changing subjects. An accidentally active bracket can make a later portrait sequence alternate between too dark and too bright. Identify related files during import and keep the individual exposures. After merging, inspect window frames, fine branches and moving edges at magnification. The finished photograph should be spatially and geometrically coherent, not merely evenly bright.


.jpg)
