A photograph of a monitor may show bands even though the displayed image looks perfectly even. That does not necessarily indicate a faulty phone. Display pixel structure, light changing over time and reflections can overlap. Before adjusting settings, decide whether you need a record of the screen content or a photograph of the screen as an object in its surroundings.
A screenshot usually records content more accurately
If you only need an error message, chart or menu, use a screenshot where possible. It records the existing pixels directly and avoids optical reflections and camera distortion. Hide private messages, account details and unrelated information first. A full-window capture plus a separate detail view can be useful for a fault report.
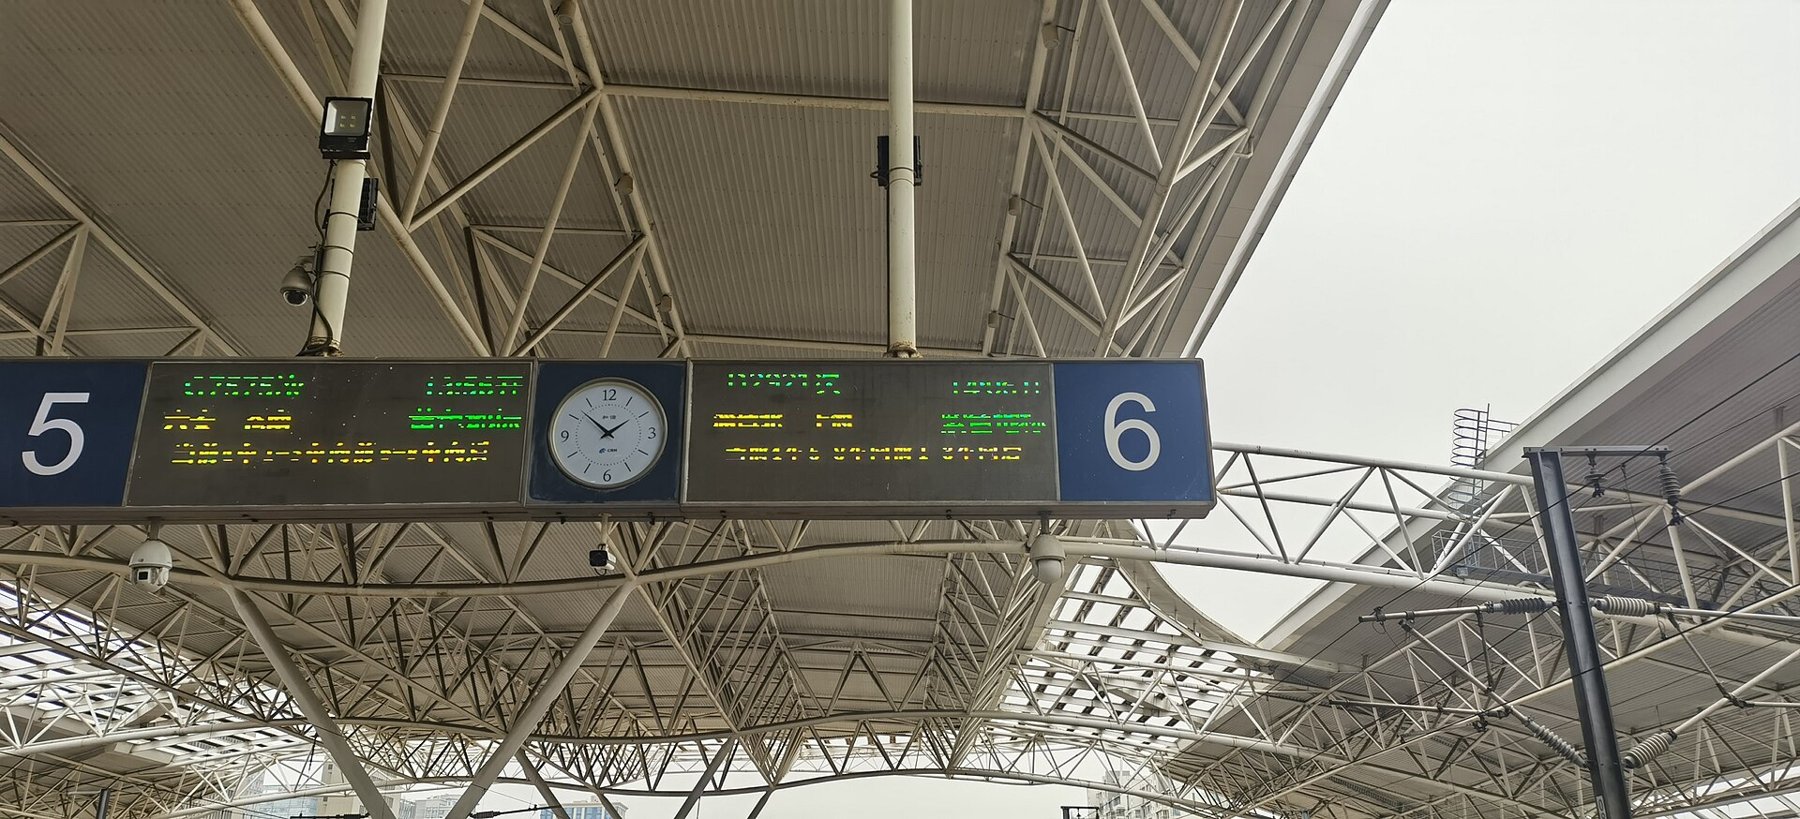
A camera photograph is needed when documenting damaged display glass, installation conditions or a physical sign without a screenshot function. Record which effects are visible to the naked eye. A band appearing only in the photograph should not be described as a display defect without further comparison.
Change fine patterns by changing distance
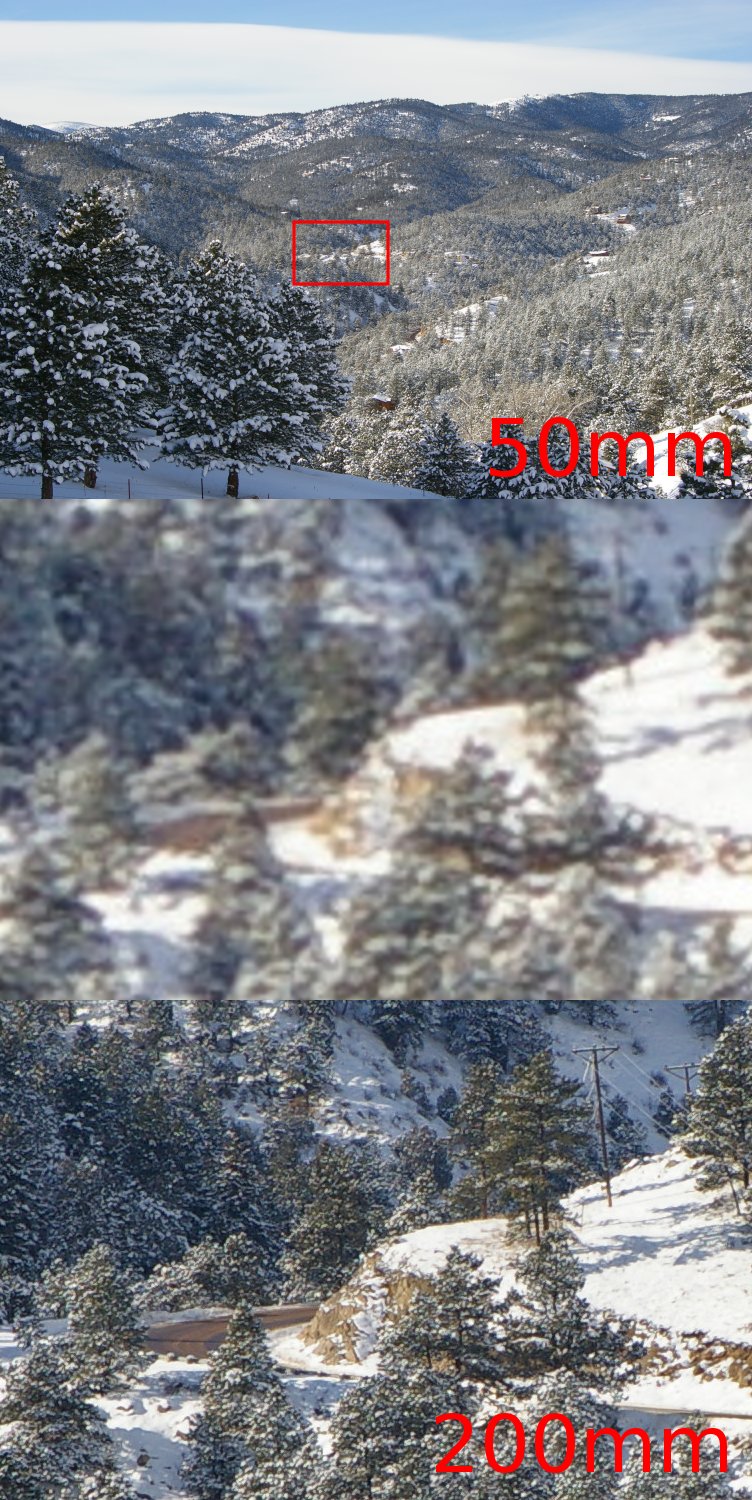
Coloured waves or regular grids can arise from interference between the display grid and the camera’s sampling grid. This moiré often changes when you move slightly farther away. Take separate pictures at several nearby distances and compare the saved files. The preview can introduce additional patterns because it reduces the image for display.
A slightly different angle may help, but it also changes the shape of the screen. Start with a straight view and vary distance first. Heavy digital zoom is not a reliable cure; it may simply enlarge the existing pattern. Slight defocus can reduce moiré, but it also makes small text less legible. That trade-off is often unsuitable for accurate technical documentation.
Broad bands caused by timing
Broad dark bands may relate to the display’s timing and the capture process. If your app offers manual shutter speed, compare several longer exposures with the phone supported. There is no universal setting for every display. Change only one variable at a time so you can identify what actually helped.
A short comparison separates the causes
Start troubleshooting with unchanged screen content, such as a page containing large letters and a pale grey area. First take two photographs from the same position. Then move the phone slightly farther back without changing the display. Fine coloured waves that change with distance suggest a spatial sampling problem. Broad bands appearing in different positions between photographs point more toward a timing effect. These are useful clues rather than a complete measurement of the display.
Refresh rate and a pulsed backlight are not the same thing. A monitor may update its content regularly while controlling brightness through an additional mechanism. The reciprocal of a quoted refresh rate is therefore not a guaranteed suitable exposure time. The camera’s row-by-row readout also affects how changing light appears in the finished picture.
If a manual photo mode is available, record the starting setting and each change. Try a longer exposure with the phone firmly supported, without changing distance, display brightness and camera brightness simultaneously. Check that lettering remains readable and bright areas have not become solid white. An image without bands but with clipped characters does not solve the documentation problem.
Examine the original file at more than one magnification. If the pattern changes at every gallery zoom level, displaying the photograph on that second screen may be introducing another effect. Inspect small details at a view that is not heavily reduced. When sharing a fault report, a note describing the capture distance and visible problem is more useful than an arbitrary collection of edited versions.
Control reflections in the room
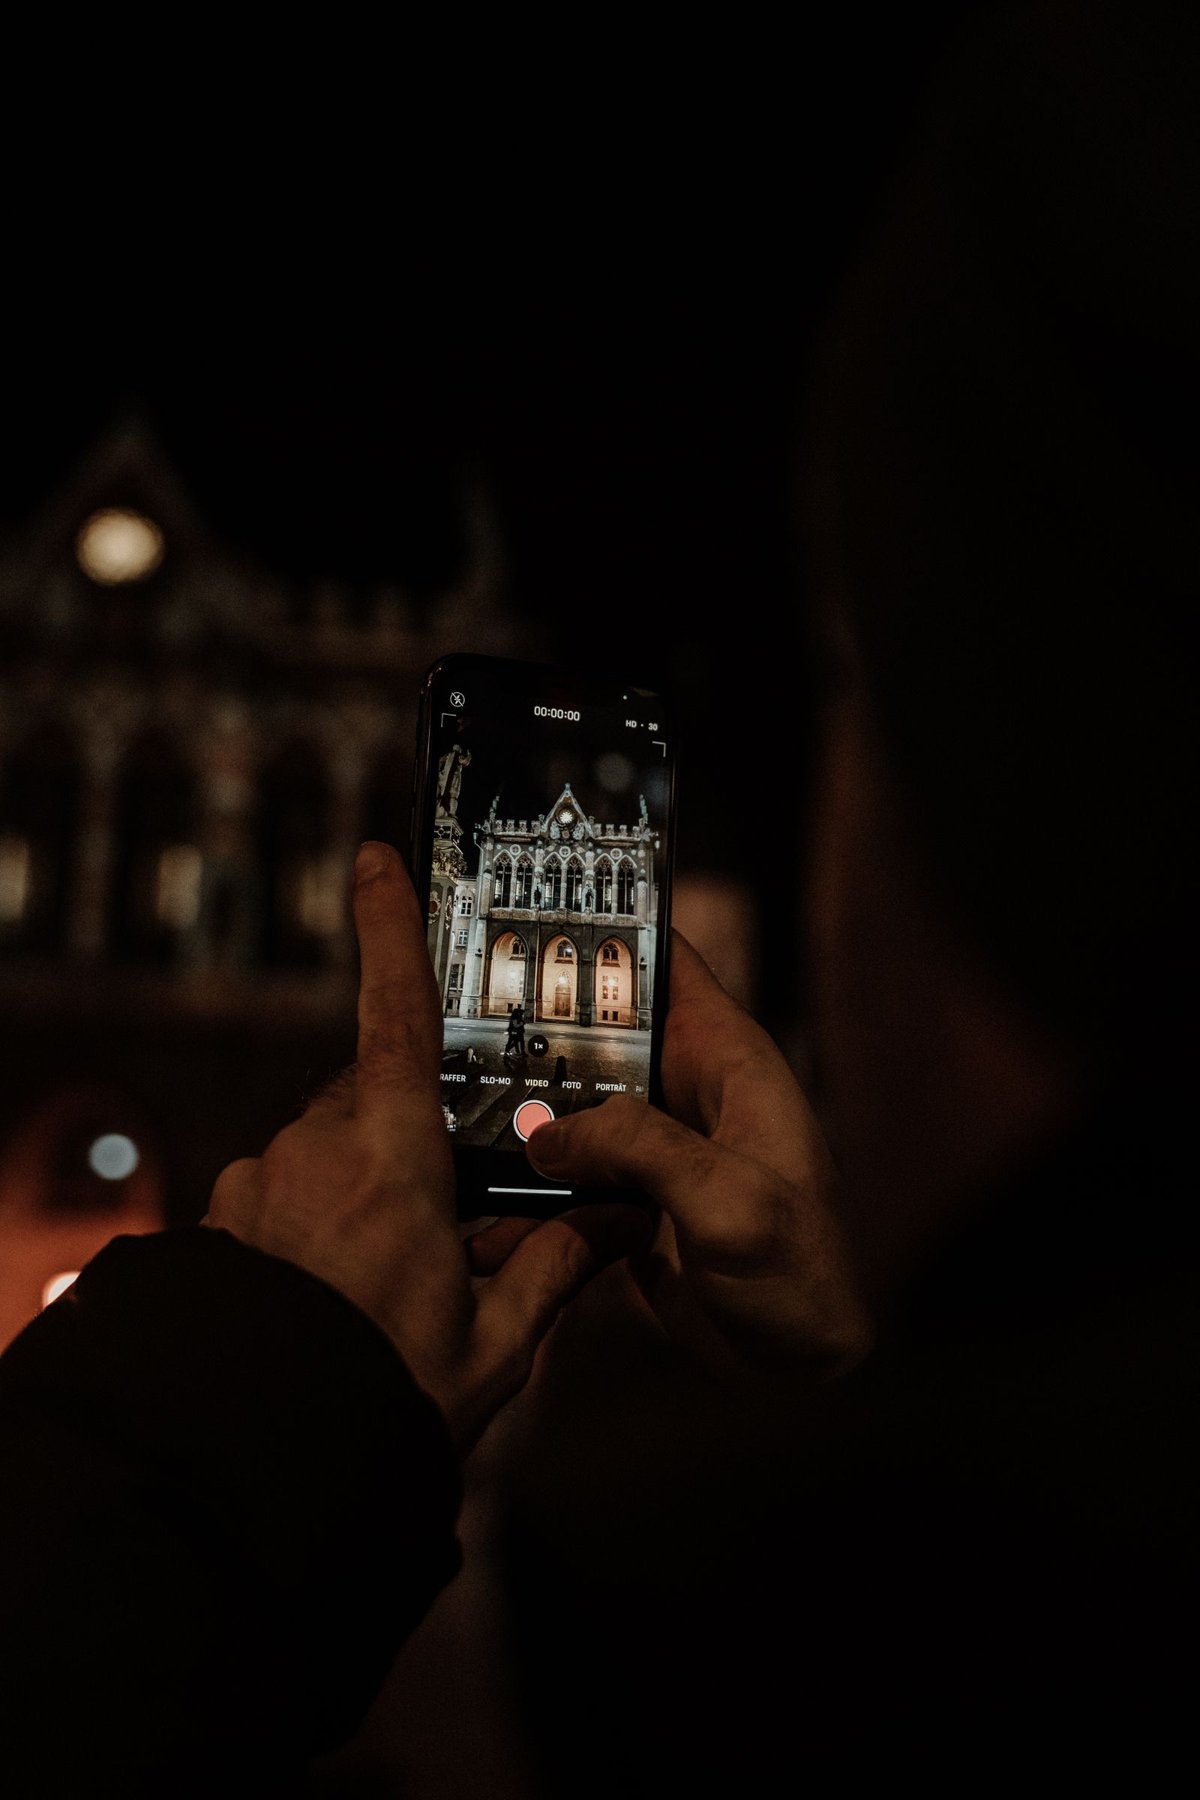
Reflections respond to the arrangement of the room instead. Switch off an intrusive lamp, change your position or darken the space behind you. Clean the display carefully according to its manufacturer’s instructions. Photograph without flash and check whether your own face or the phone appears in dark areas. Black screen content often makes these reflections especially visible.
Save an unchanged photograph for comparison. Aggressive smoothing, artificial sharpening or a screenshot inserted afterwards can conceal the cause of a problem. If you create a composite for a presentation, identify it as such rather than presenting it as evidence of the original display.